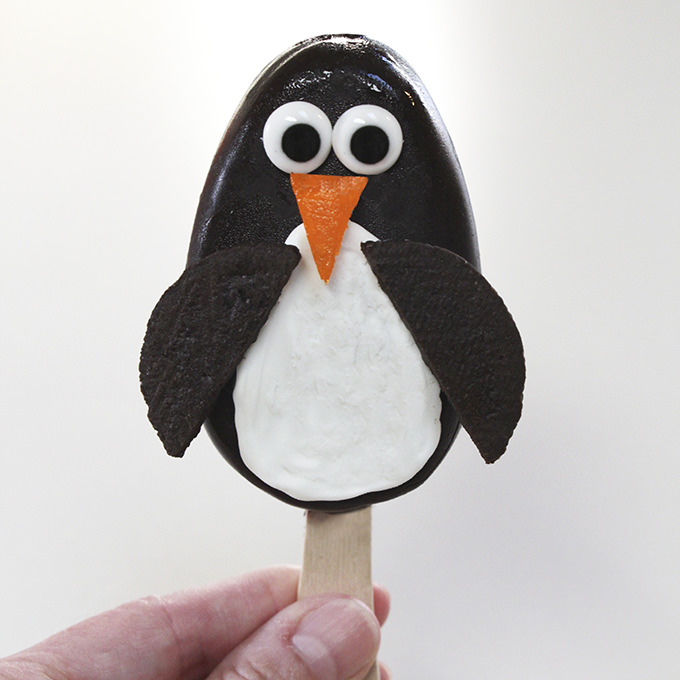
Today I discovered the blog Our Best Bites, which has an article with all the steps required to make cupcakes topped with candy penguins. These little guys will be the hit of the party!
The receipe includes only easy to find ingredients and does not require that you be the best chief. This is a great cooking project that can be done all in one sitting or put together in steps, or is a good project you can work on with your kids.

Candy Penguin Cupcakes
By Our Best Bites
Ingredients:
Unfrosted cupcakes, any flavor (I use the recipe from this tutorial, but you could easily use unfrosted cupcakes purchased from a bakery)
White frosting (I use this recipe)
Coconut
1 bag of large marshmallows
Sanding sugar, white sparkly sugar, or white sprinkles
1 bag of semi-sweet chocolate chips
2 Tbsp. shortening
Candy corn
Trolli Gummi Strawberry Puffs (I just found these in the candy section at Wal-Mart)
1 cube almond bark
Yellow and orange Starbursts
Supplies:
–1 pair kitchen shears
–Some kind of foam, preferably floral foam
–Bamboo skewers
–1 large Ziploc bag
–2 small Ziploc bags (snack size is perfect)
The process to make these little guys is quite involved, but not overly difficult. The total time to make 24 of these guys, if you do everything in one go, will take around 3 to 4 hours.
Below is an excerpt from the site of how to make these guys, for more complete directions (including helpful pictures) please see Our Best Bites: Tutorial: Candy Penguin Cupcakes.
Brief how to:
1. Combine chocolate chips and shortening. Heat in the microwave, stirring about every 30 seconds, until the chocolate is completely melted.
2. While chocolate is melting, insert a bamboo skewer about halfway into a flat end of each marshmallow. You can stick these into the craft foam while you wait for the chocolate to continue melting.
Note: It is best to work at making 6 penguins at a time so that the chocolate does not harden before you are done.
3. Work quickly to dip each skewered marshmallow into the chocolate, tap the skewer onto the side of the bowl a few times to remove excess chocolate. Place the skewer holding the dipped marshmallow into the craft foam so the chocolate can dry without touching anything.
4. When you’ve dipped about 6 marshmallows, wash your hands thoroughly to remove any chocolate. Pour a small amount of sanding sugar/sparkly sugar/sprinkles onto a plate.
5. To Make the Penguin’s White Tummy: Using your kitchen shears, carefully cut a thin slice (about 1/8″) of marshmallow. Then, dip the sticky side (or just one side if both sides are sticky) into the sanding sugar and then carefully place the non-sugared side onto the dipped marshmallow (The melted chocolate will hold the marshmallow slice in place and the sanding sugar will keep anything from sticking to his tummy). Repeat with remaining dipped marshmallows.
6. To Make Penguin Feet: Take two candy corns per penguin and place them directly above the penguin’s tummy, on the round bottom of the marshmall. Have the fat, yellow end poking out over the edge of the marshmall and the small white ends forming a “V” together. The feet will stick out at an angle with only the yellow of the candy being visible.
7. Let the half-penguins dry.
Note: This is a good place to stop and continue at another time if desired.
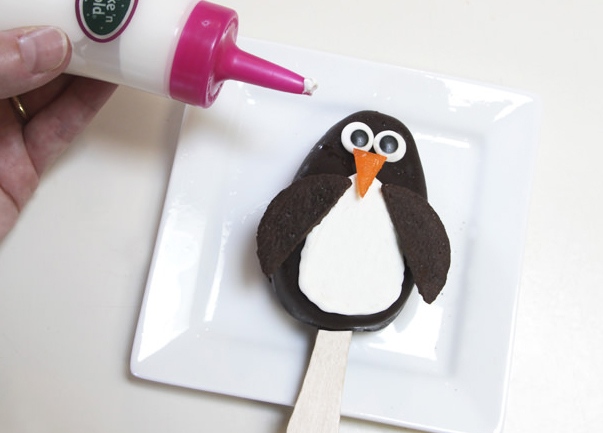
8. Ice your cupcakes. Fill a large Ziploc bag with icing and then cut about 1/2″ off the corner, squeeze the icing onto the cupcakes. Then spread the icing out with a knife.
9. Place a penguin body on each iced cupcake.
10. For Snow: Gently press some coconut around each penguin body. If you’re allergic to or don’t like coconut, you could also use some more sanding sugar instead of the coconut.
11. You’ll probably need to reheat your chocolate at this point. Heat it until it’s liquid and then give it a good stir.
12. To make the penguin heads: Dip each Trolli Strawberry candy into the chocolate and then twirl it a little to remove excess chocolate. Carefully place the dipped candy onto the penguin’s body, the oblong side directly above the penguin’s tummy (this will be his face).
13. Wash your hands really well again to remove chocolate.
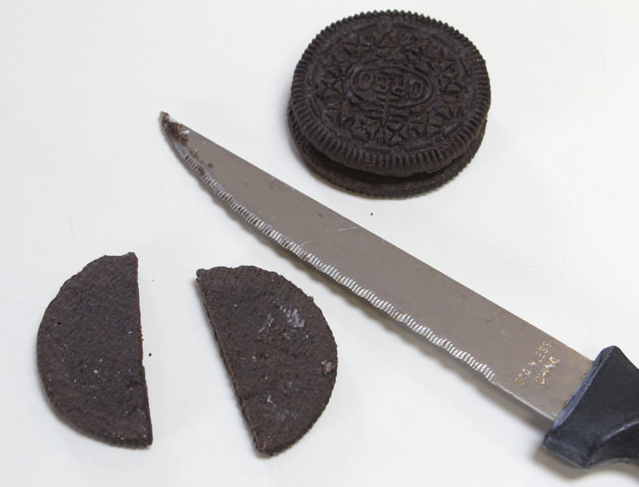
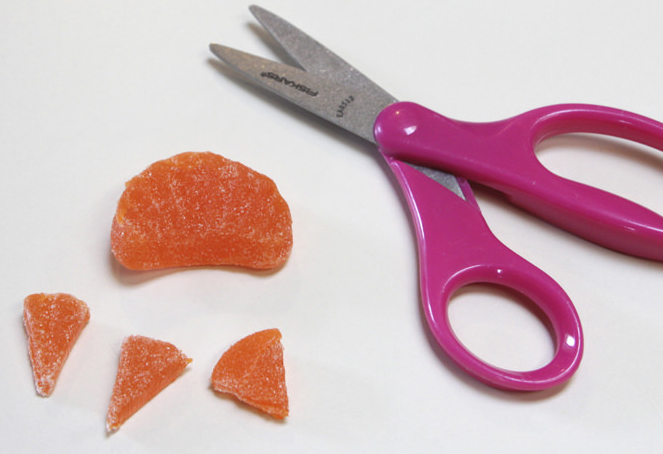
14. To Make Beaks: Carefully cut off a small piece of the Starburst (maybe a 1/8″ corner) and then form it into a beak between your fingers. Carefully place it in the middle of the penguin’s face (the chocolate on the head will still have to be warm for this to work).
15. To Make the Whites of the Eyes: Heat the cube of almond bark in a ziplock bag in the microwave for 1 minute, checking it every 20-30 seconds (and mashing it around with your hands a little each time), until the bark has melted. Then cute a small hole in the bag, and squeeze two eye blobs above the penguin’s beak.
16. To Make Pupils: Place dipping chocolate in ziplock bag, reheat a bit if necessary, cut a small hole in the bag, and place a small dot onto the whites of each eye.
17. Allow all the penguins to dry and then enjoy!
As I said above, please see Our Best Bites: Tutorial: Candy Penguin Cupcakes for full directions, complete with pictures and additional helpful tips.